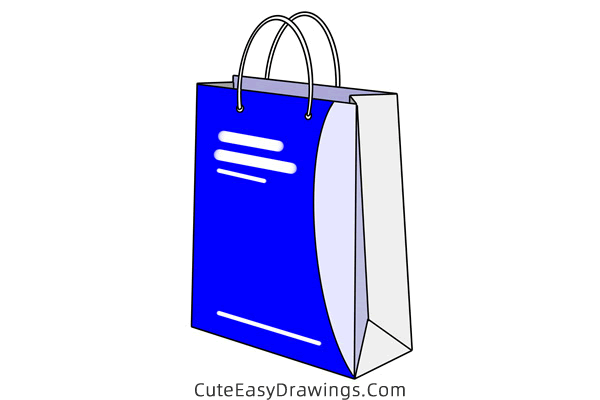
A paper handbag is a bag made from paper, like a big paper pocket with handles. It is light, strong, and easy to carry.
We can use it to hold things like toys, books, or snacks, it is better than plastic bags because it doesn’t hurt animals.
After you use it, you can fold it flat and save it for next time, or put it in the recycle bin so new paper can be made.
Some paper handbags have pretty colors or pictures! Would you like to draw a paper handbag? The following step-by-step instructions will help you accomplish this!
SUPPLIES NEEDED:
√ Draw a Paper Handbag PDF (Click to download for free.)
√ Drawing Papers (You can get it easily and I would say almost any paper can be used.)
√ Pencils / Markers / Crayons / Watercolors (Remember to use a pen with a fine tip when outlining.)
FOR WHOM:
Elementary school students
TIME NEEDED:
About 0.5 hour
INSTRUCTIONS:
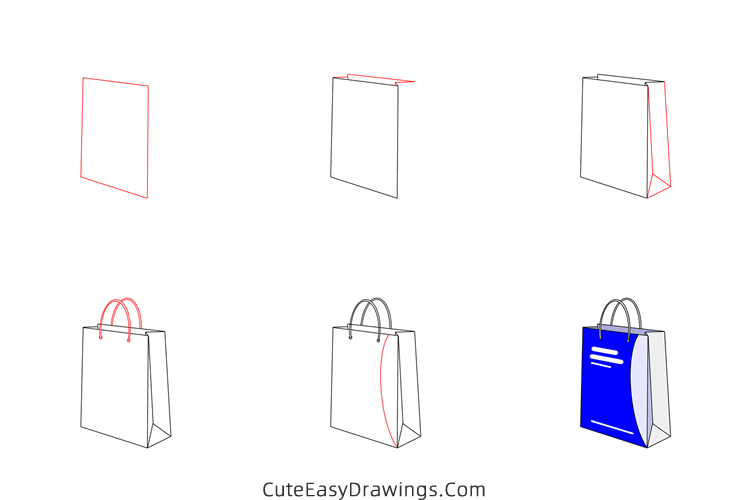
How to Draw a Paper Handbag Step by Step
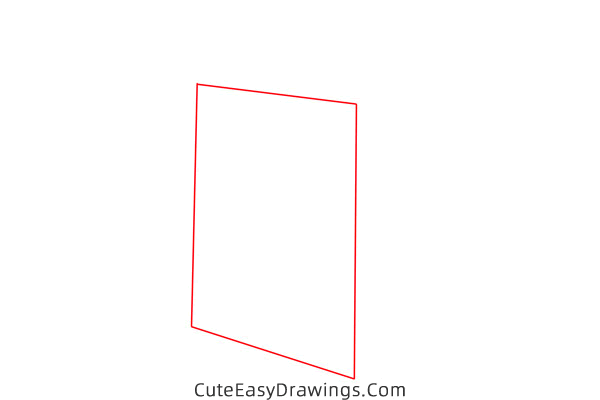
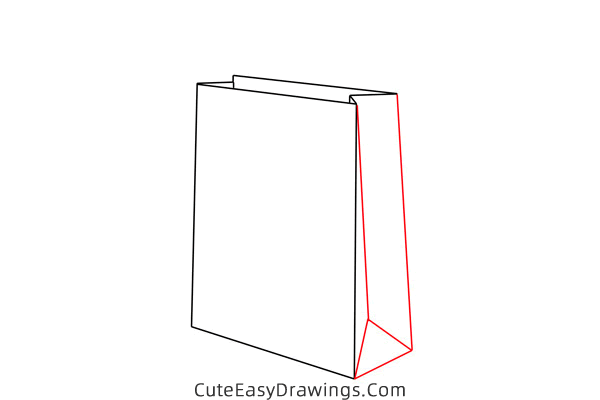
Step 1 Draw a quadrilateral.
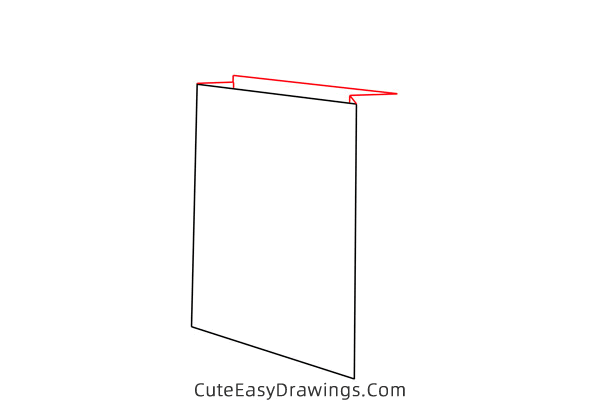
Step 2 Draw the opening of this paper bag.
Step 3 Draw one side of this paper bag.
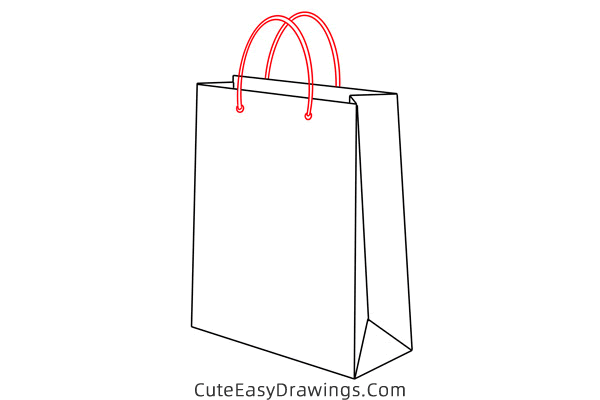
Step 4 Draw the handles of this paper bag.
Step 5 Draw a curve on this paper bag.
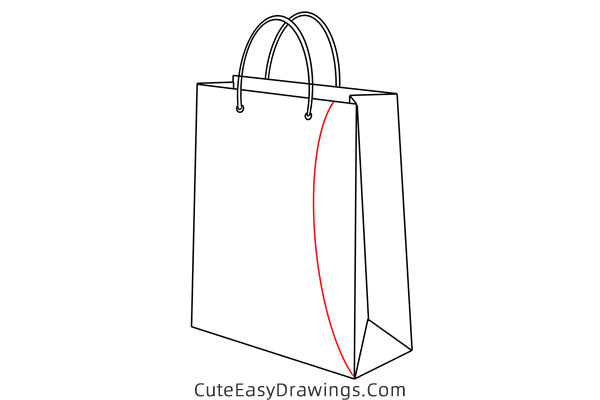
Step 6 Color it to complete this paper bag.
Guys, have you learned how to draw a paper handbag yet?

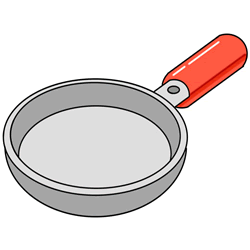 How to Draw a Pan Step by Step
 How to Draw a Ball of Yarn Step by Step
 How to Draw a Lighter Step by Step
 How to Draw a Rubik's Cube Step by Step