A USB cable is like a long, thin snake with two flat heads. One end of the cable is called a USB plug, and it looks like a small rectangle. The other end can be different shapes, depending on what it connects to.
We use USB cables to connect our devices to each other. Imagine you have a phone that needs to talk to your computer.
You can use a USB cable to connect them. One end of the cable goes into the phone, and the other end goes into the USB port on the computer.

It's like a bridge that helps your phone and computer share things. For example, if you want to charge your phone, you can plug one end of the USB cable into your phone and the other end into a charger. The cable helps send power from the charger to your phone so it can get more battery.
Or if you want to move music from your computer to your phone, you can use the USB cable to connect them and then send the music over.
USB cables are really helpful for making our devices work together! Let's learn how to draw a USB cable. if you are interested in it, follow the step by step instructions and try it out!

SUPPLIES NEEDED:
√ Draw a USB Cable PDF (Click to download for free.)
√ Drawing Papers (You can get it easily and I would say almost any paper can be used.)
√ Pencils / Markers / Crayons / Watercolors (Remember to use a pen with a fine tip when outlining.)
FOR WHOM:
Elementary school students
TIME NEEDED:
About 0.5 hour
INSTRUCTIONS:
How to Draw a USB Cable Step by Step
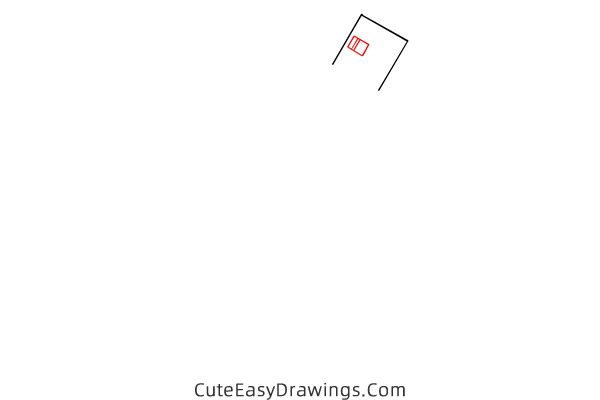
Step 1 Draw a straight line.

Step 2 Draw a rectangle.

Step 3 Draw a small rectangle and add two lines.
Step 4 Draw the other small rectangle and add two lines.

Step 5 Draw two connected straight lines.

Step 6 Draw a rectangle and add a pattern.

Step 7 Draw a rectangle at the bottom.

Step 8 Draw a wire.

Step 9 Color this USB data cable.
Guys, have you learned how to draw a USB cable yet?

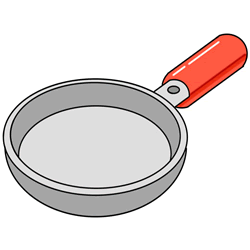 How to Draw a Pan Step by Step
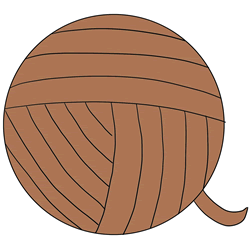 How to Draw a Ball of Yarn Step by Step
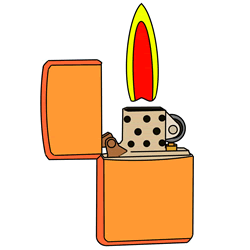 How to Draw a Lighter Step by Step
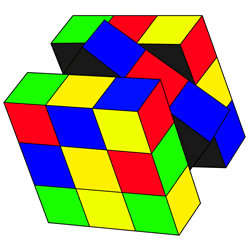 How to Draw a Rubik's Cube Step by Step