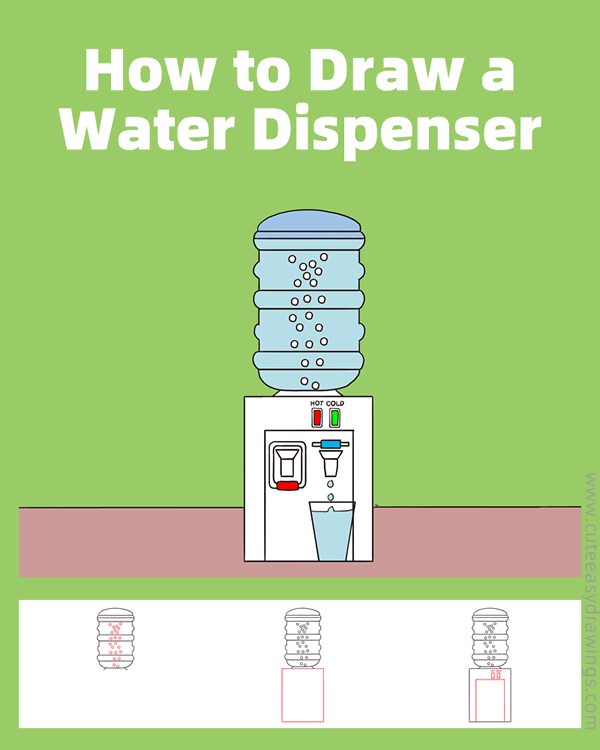
Look at this handy machine! This is a water dispenser. On its top, it has a large, clear plastic bottle filled with water. This bottle is upside down, so the water can flow down into the machine.
The main body of the machine is called the base. It has two important buttons or taps: A hot water tap (usually marked in red). A cold water tap (usually marked in blue or green).
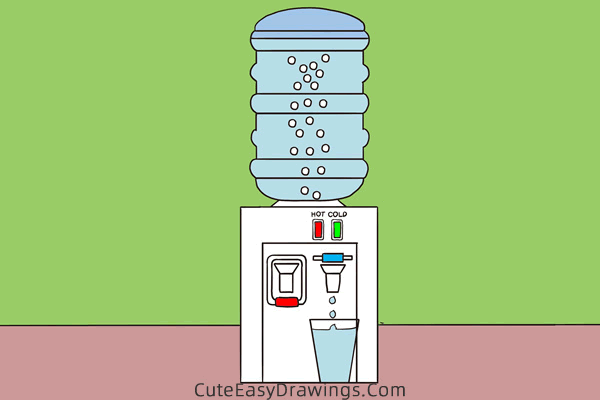
Right now, there is a clear cup placed right under the cold water tap. The cup is already filled with fresh, cool water, ready for someone to take a drink.
This machine's job is to give us hot or cold water anytime we want it, making it very convenient at home, school, or the office. It's like a little fountain just for drinking water! Now let's follow the tutorial to learn how to draw this water dispenser!
SUPPLIES NEEDED:
√ Draw a Water Dispenser PDF (Click to download for free.)
√ Drawing Papers (You can get it easily and I would say almost any paper can be used.)
√ Pencils / Markers / Crayons / Watercolors (Remember to use a pen with a fine tip when outlining.)
FOR WHOM:
Elementary school students
TIME NEEDED:
About 1 hour
INSTRUCTIONS:
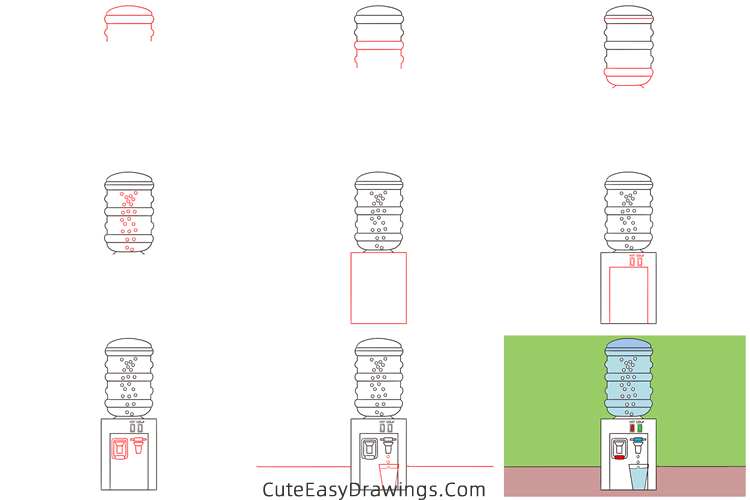
How to Draw a Water Dispenser Step by Step
Step 1 Draw the bucket.

Step 2 Continue drawing that bucket.
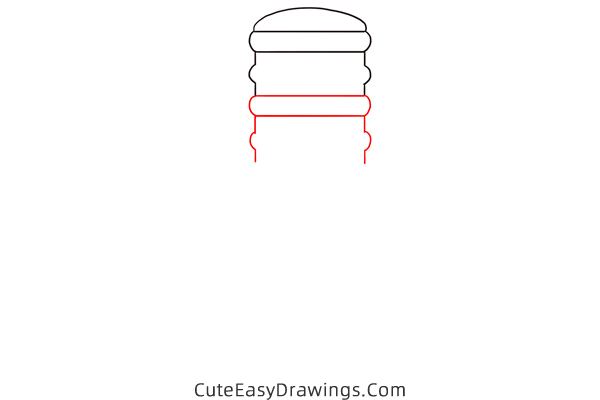
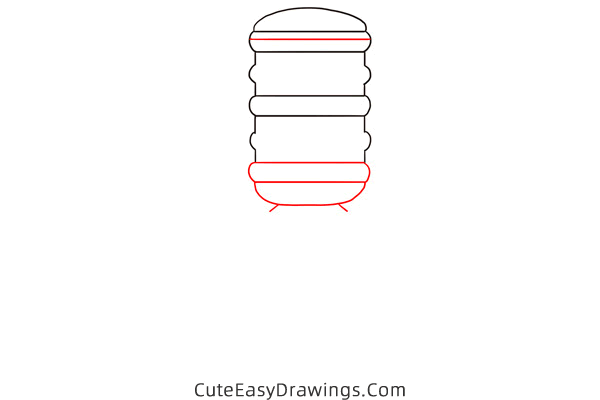
Step 3 Complete that bucket.
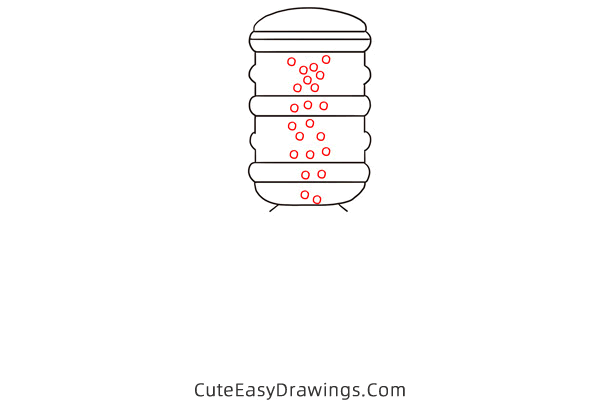
Step 4 Add some small circles to this bucket.
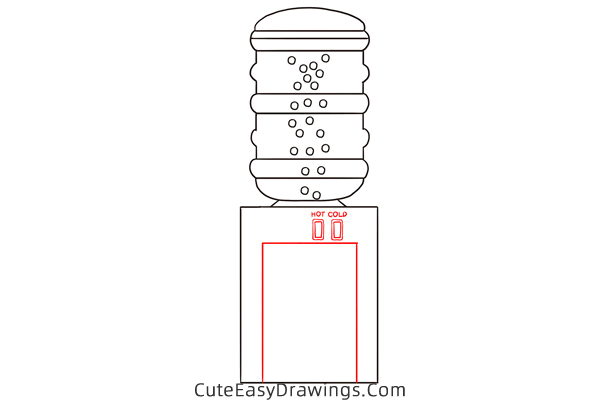
Step 5 Draw a rectangle at the bottom.

Step 6 Draw a rectangle and two switches.
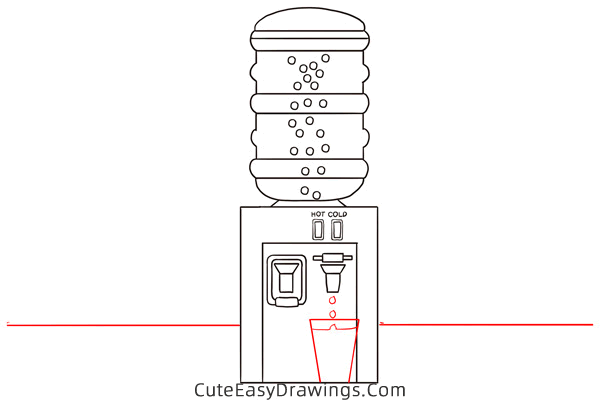
Step 7 Draw two water spouts.

Step 8 Draw a glass cup and water droplets.
Step 9 Let's color this water dispenser.
Guys, have you learned how to draw a water dispenser yet?
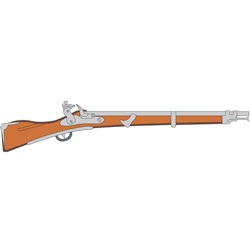 How to Draw a Musket Step by Step
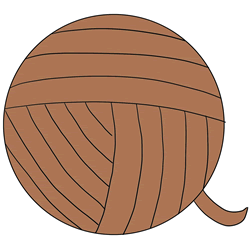 How to Draw a Ball of Yarn Step by Step
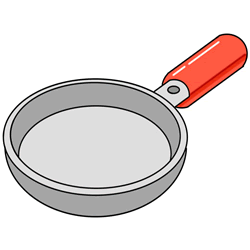 How to Draw a Pan Step by Step
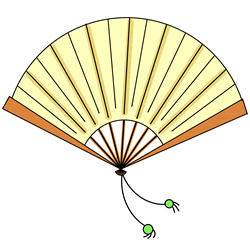 How to Draw a Hand Fan Step by Step