An electric scooter is like a tiny, quiet car that you stand on. It has two wheels, handlebars, and a little step where your feet go.
Inside, there is a battery—think of it like the batteries in your toy car, but bigger. You push a button or twist the handle, and a small motor helps the wheels turn.
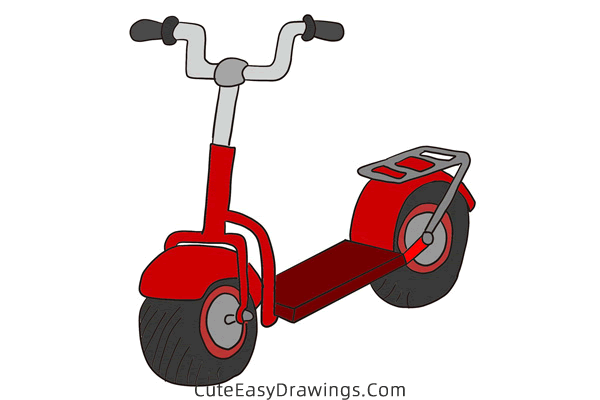
It goes faster than a normal scooter you push with your foot, but it makes no loud noise and doesn’t puff out any dirty smoke.
When the battery gets sleepy, you just plug it into the wall to give it energy again. A tutorial on how to draw an electric scooter, if you like it follow the instructions below to try it out!
SUPPLIES NEEDED:
√ Draw an Electric Scooter PDF (Click to download for free.)
√ Drawing Papers (You can get it easily and I would say almost any paper can be used.)
√ Pencils / Markers / Crayons / Watercolors (Remember to use a pen with a fine tip when outlining.)
FOR WHOM:
Elementary school students
TIME NEEDED:
About 1.5 hours
INSTRUCTIONS:
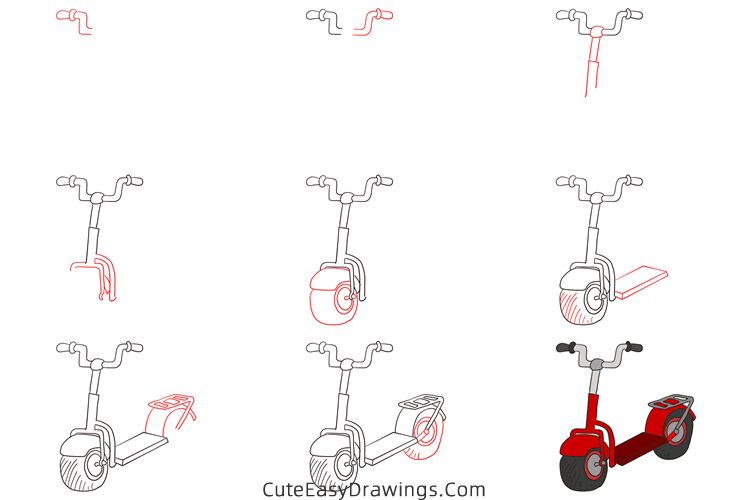
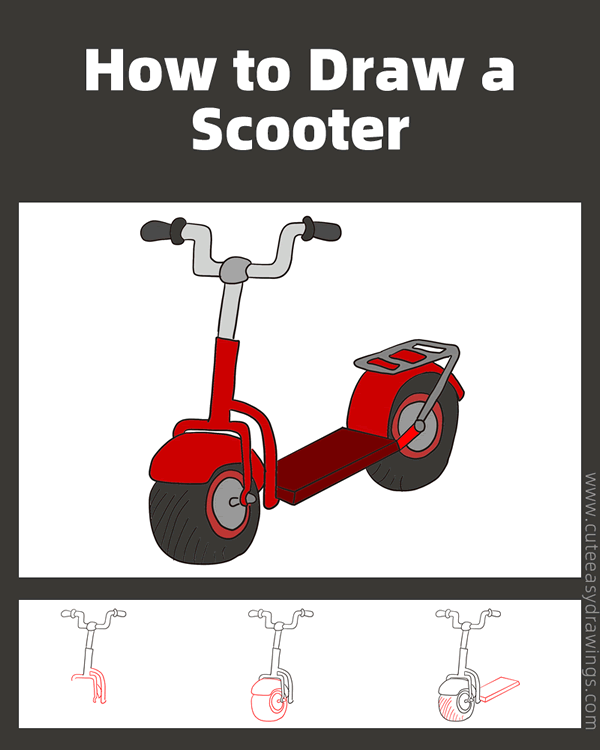
How to Draw an Electric Scooter Step by Step
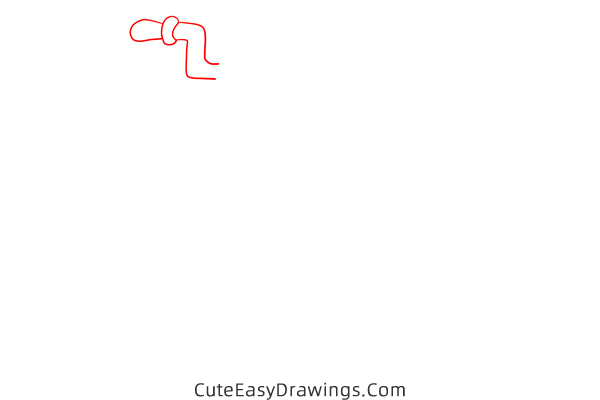
Step 1 Draw the left handlebar of the electric scooter.
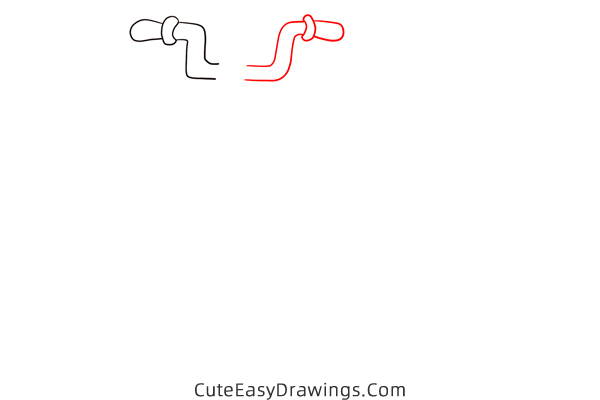
Step 2 Draw the right handlebar of the electric scooter.
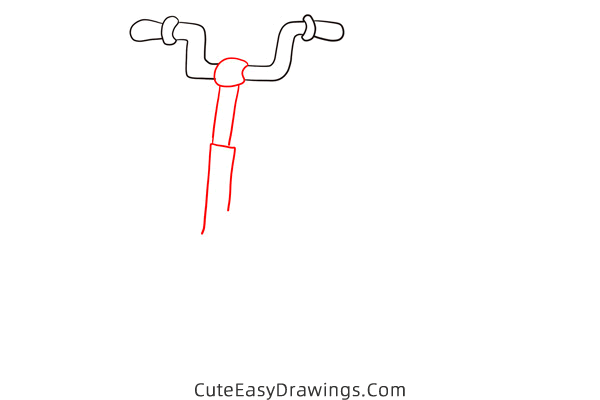
Step 3 Draw a support bar in the center.
Step 4 Draw the fixtures for the front wheel.
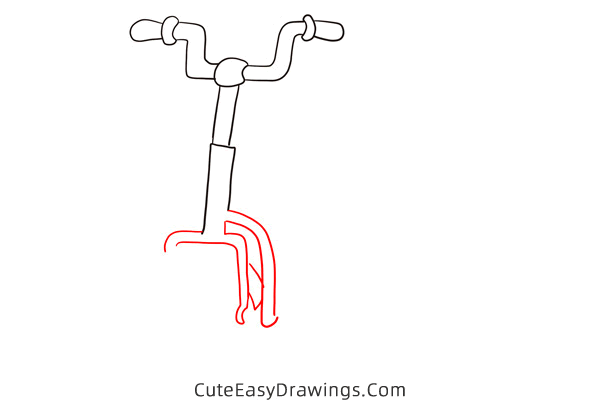
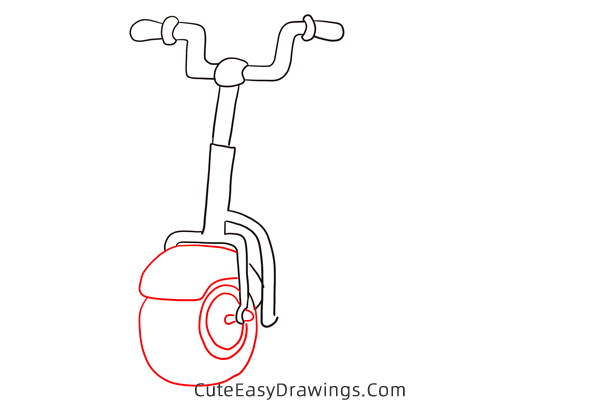
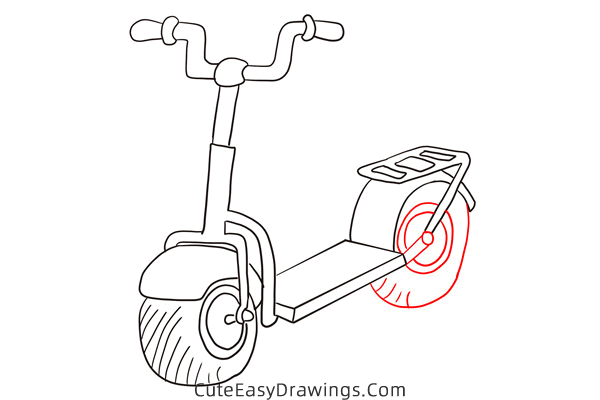
Step 5 Draw the front wheels of this electric scooter.
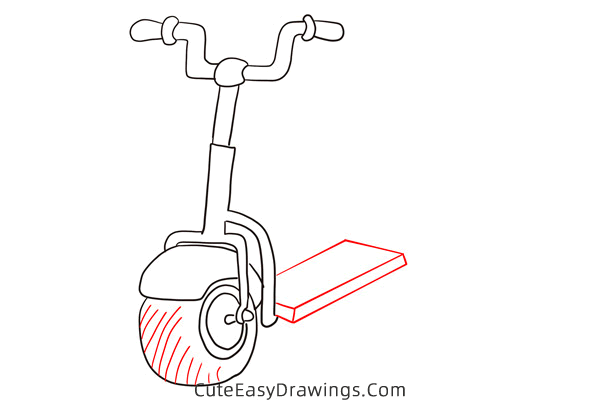
Step 6 Draw the pedal of this electric scooter.
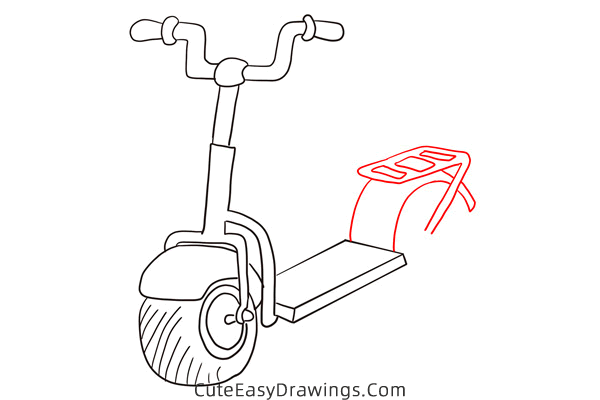
Step 7 Draw the seat of this electric scooter.
Step 8 Draw the rear wheel of this electric scooter.
Step 9 Final coloring for this electric scooter.
Guys, have you learned how to draw an electric scooter yet?
 How to Draw a Car Easy Step by Step
 How to Draw a Fighter Jet Step by Step
 How to Draw a Garbage Truck Step by Step
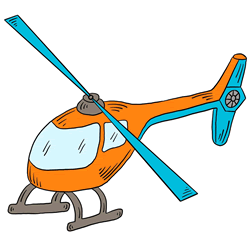 How to Draw a Helicopter Step by Step