Have you ever seen someone carrying a shiny metal bottle on their back or pushing it on little wheels? That is called an oxygen tank!
It looks like a tall, heavy metal can. Inside the tank, there is a special kind of air called oxygen. We all need oxygen to breathe, live, and play. The air all around us has oxygen in it. But sometimes, a person's lungs need a little extra help to get enough oxygen.
A soft, clear tube is attached to the tank. One end of the tube goes into the person's nose or over their mouth. Then, the tank quietly sends a gentle stream of oxygen through the tube, right into the person's body. It helps them breathe easier and feel better.
Some oxygen tanks are small enough to carry in a bag. Others are big and sit on wheels, like a loyal metal friend that follows you around.
They do not make loud noises. They just quietly puff, puff, puff, giving all the good, clean air that a person needs.
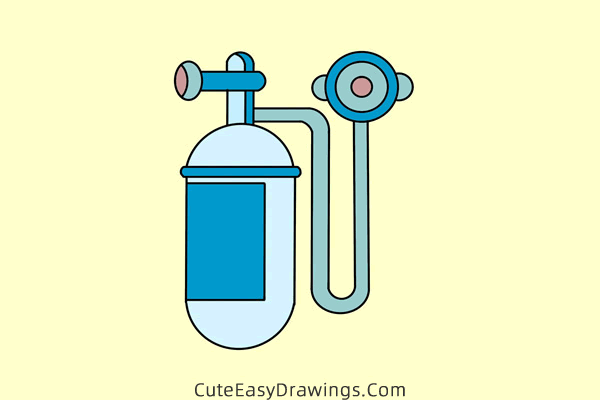
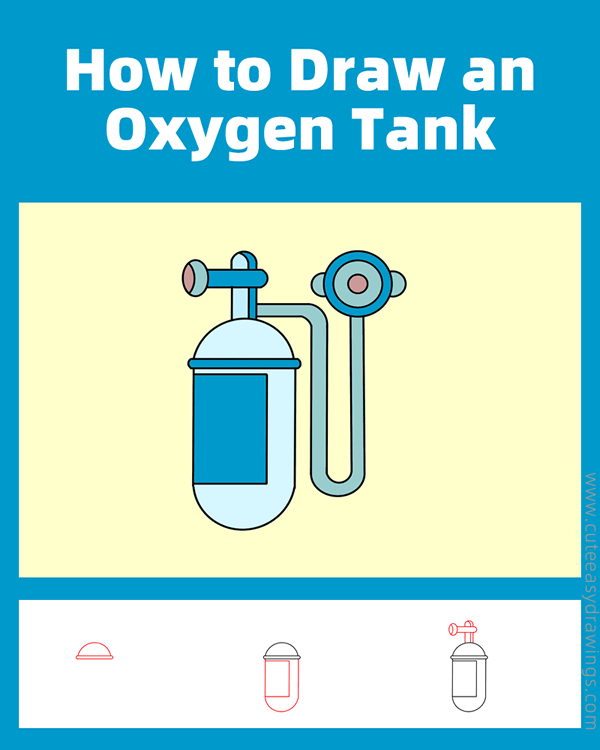
It is a helpful helper! It holds extra air for people who need a little breathing boost. Let’s follow these step-by-step instructions to learn how to draw a simple oxygen tank.
SUPPLIES NEEDED:
√ Draw an Oxygen Tank PDF (Click to download for free.)
√ Drawing Papers (You can get it easily and I would say almost any paper can be used.)
√ Pencils / Markers / Crayons / Watercolors (Remember to use a pen with a fine tip when outlining.)
FOR WHOM:
Preschoolers and kids of all ages
TIME NEEDED:
About 0.5 hour
INSTRUCTIONS:
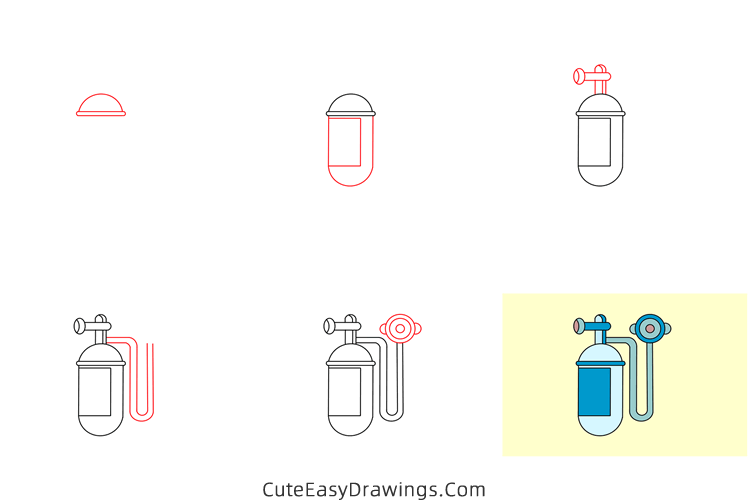
How to Draw an Oxygen Tank Step by Step
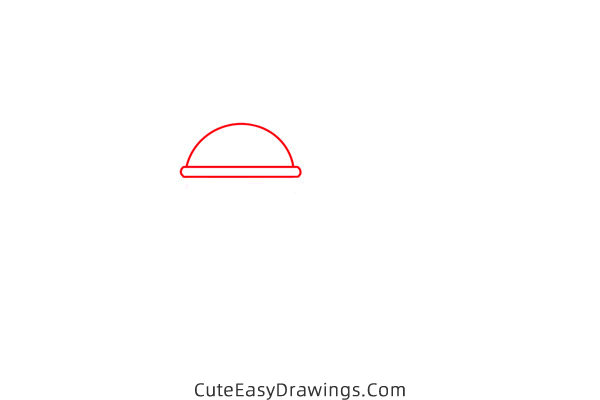
Step 1 Draw a shape that resembles a plate lid.
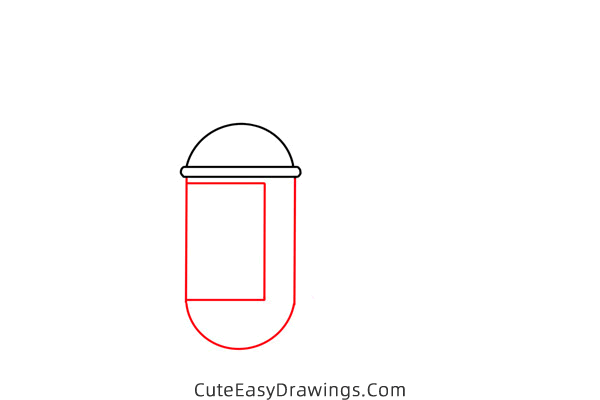
Step 2 Draw the main body of this oxygen tank.
Step 3 Draw the top of this oxygen tank.
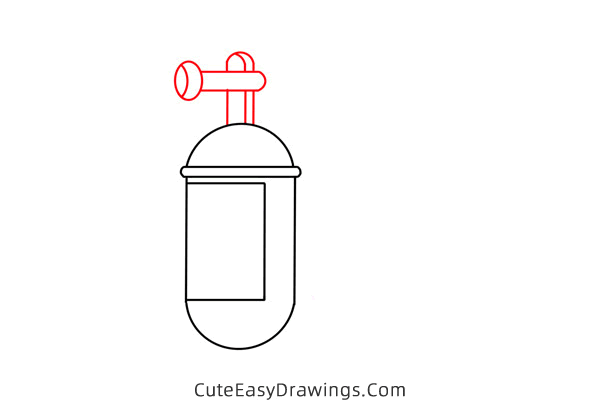
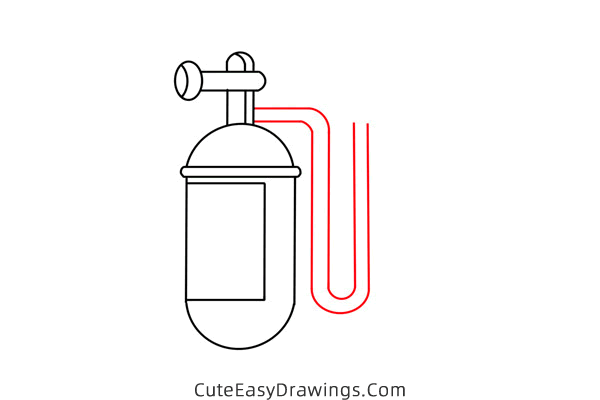
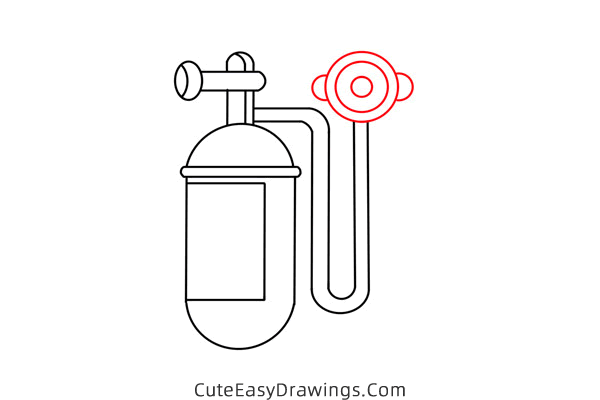
Step 4 Draw the pipe for this oxygen tank.
Step 5 Draw some circles and two semicircles.
Step 6 Just color this oxygen tank.
Guys, have you learned how to draw an oxygen tank yet?
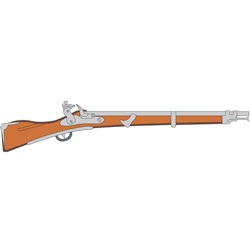 How to Draw a Musket Step by Step
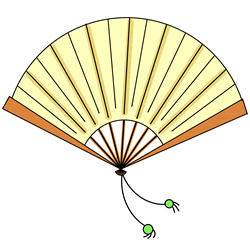 How to Draw a Hand Fan Step by Step
 How to Draw a Ball of Yarn Step by Step
 How to Draw a Brazilian Carnival Mask Step by Step