Wheat is a special kind of grass that farmers grow in big fields. It starts as tiny seeds, grows into tall green stalks, and turns golden brown when it’s ready to eat!
We grind wheat seeds into flour (a soft powder), and flour makes: 1. Bread – For sandwiches and toast! 2. Cookies & Cakes – Sweet treats! 3. Pasta – Like spaghetti and macaroni!
When farmers plant it in the ground, add water, and give it sunshine, the seed wakes up. It grows into a tall green plant that looks like grass with a fuzzy top.
After many sunny days, the top turns golden-yellow. Inside the fuzzy top are lots of new wheat seeds, ready to start again.
People pick the seeds, take off their hard coats, and grind them into soft white powder. That powder is flour. One field of wheat can make hundreds of loaves of bread!
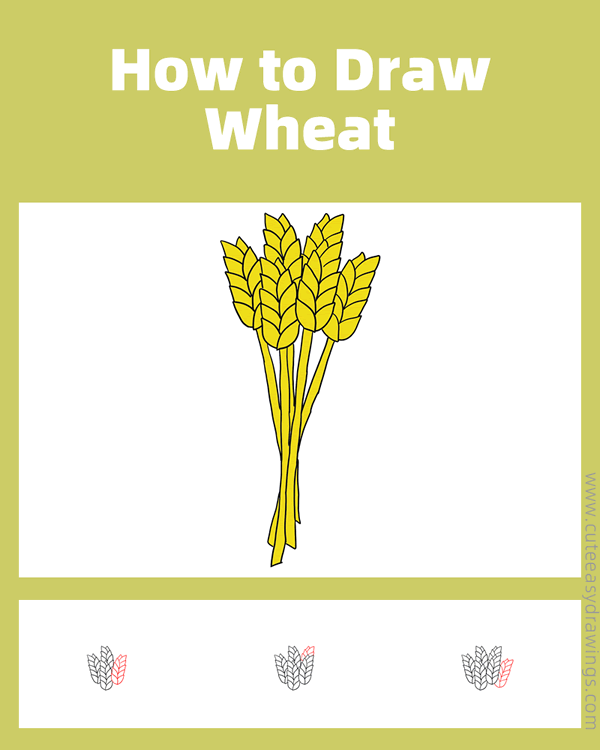
wheat is the magic plant behind your favorite foods! In today's drawing tutorial, we are going to follow step-by-step instructions to learn how to draw wheat. Let's read on and get your pens ready!
SUPPLIES NEEDED:
√ Draw Wheat PDF (Click to download for free.)
√ Drawing Papers (You can get it easily and I would say almost any paper can be used.)
√ Pencils / Markers / Crayons / Watercolors (Remember to use a pen with a fine tip when outlining.)
FOR WHOM:
Preschoolers and kids of all ages
TIME NEEDED:
About 0.5 hour
INSTRUCTIONS:
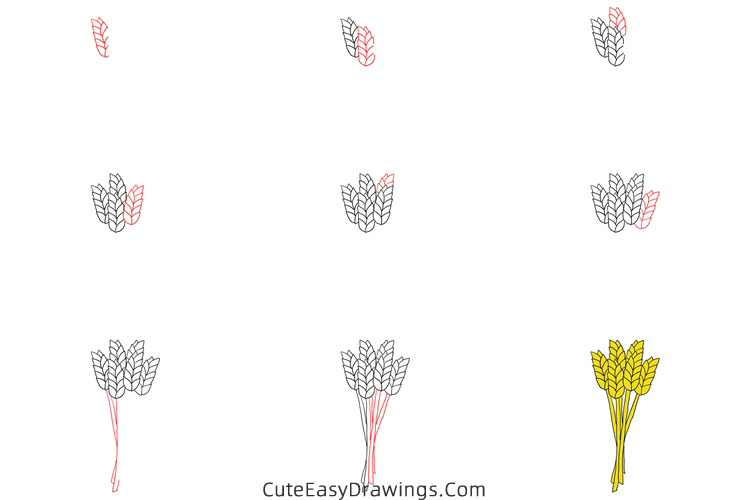
How to Draw Wheat Step by Step
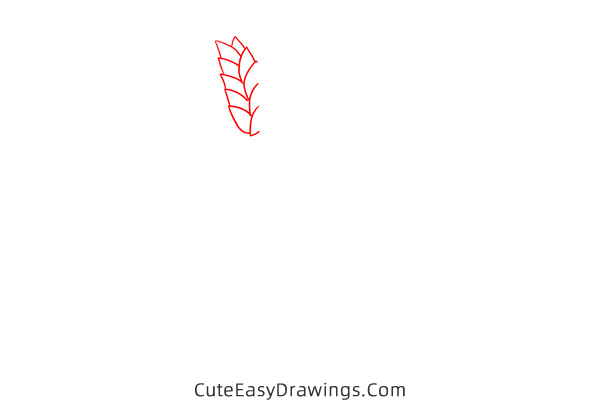
Step 1 Draw a sheaf of wheat.
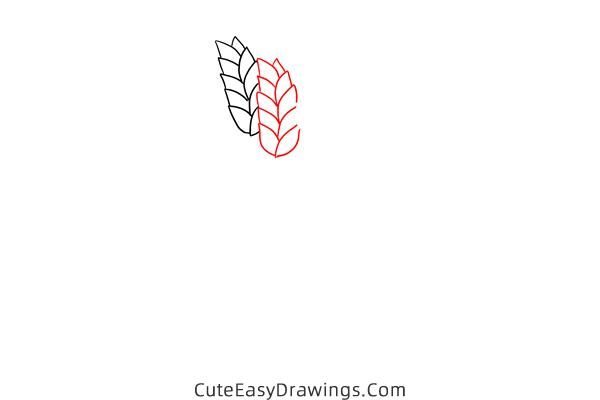
Step 2 Draw the second sheaf of wheat.
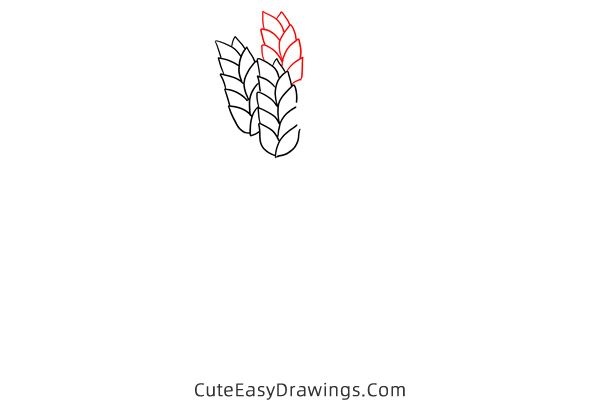
Step 3 Draw the third sheaf of wheat.
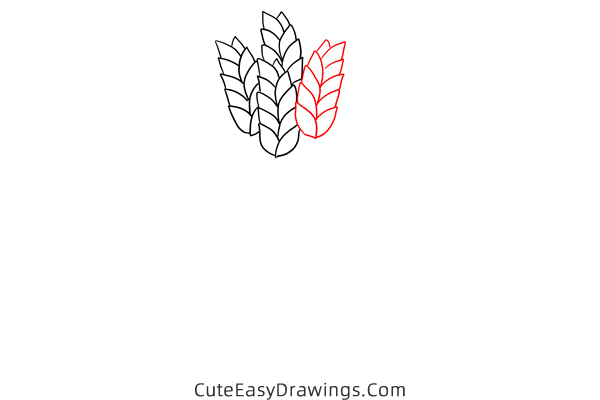
Step 4 Draw the fourth sheaf of wheat.
Step 5 Draw the fifth sheaf of wheat.
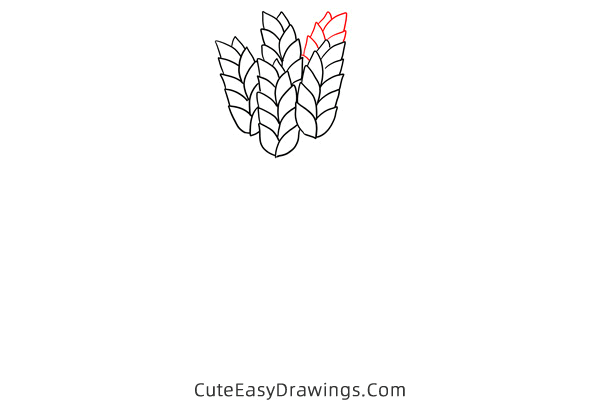
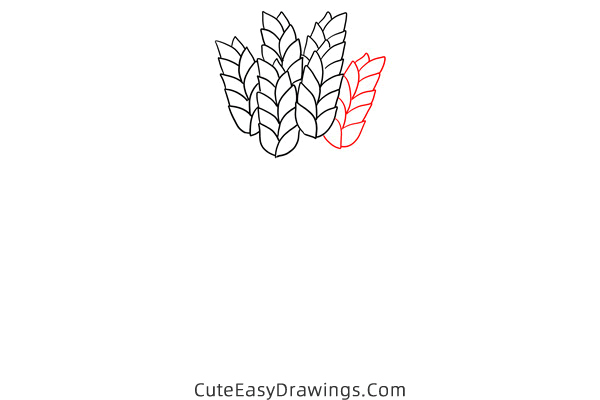
Step 6 Draw the sixth sheaf of wheat.
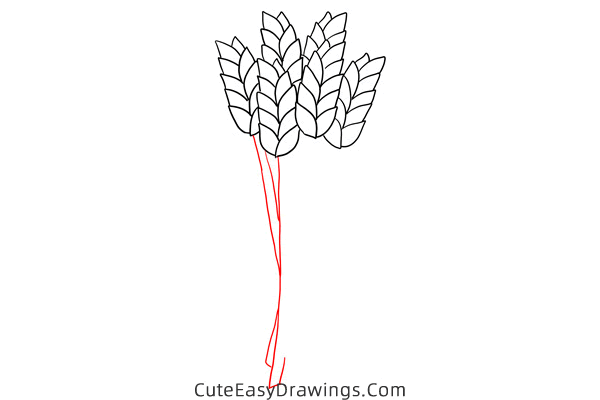
Step 7 Draw two straws.
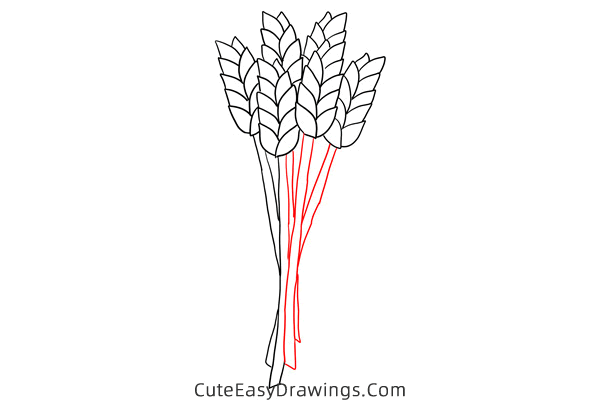
Step 8 Draw the rest straws.
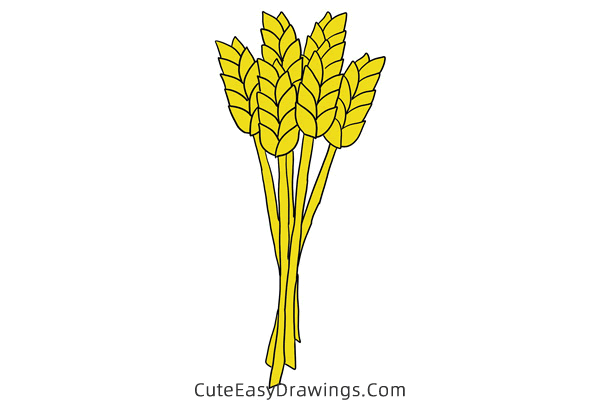
Step 9 Color the harvested wheat.
Guys, have you learned how to draw wheat yet?
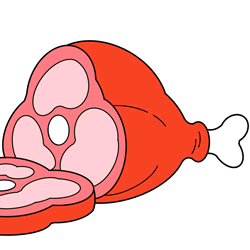 How to Draw Meat Step by Step
 How to Draw a Gummy Bear Step by Step
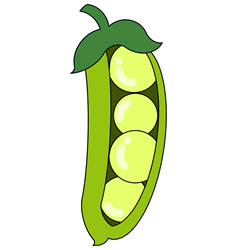 How to Draw Peas in a Pod Step by Step
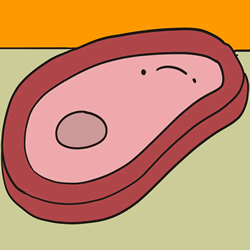 How to Draw a Steak Step by Step